The Ventrolla Sash Removal System: A guide to effortless sash window maintenance
Windows are an integral part of our homes, allowing natural light to illuminate our living spaces while providing ventilation and a connection to the outdoors. However, over time, even the sturdiest windows may require maintenance and repair to ensure their optimal functionality and aesthetic appeal. This is where the Ventrolla Sash Removal System (SRS) comes into play, revolutionising the process of window maintenance.
With its user-friendly design and step-by-step guide, the Ventrolla SRS enables homeowners to effortlessly remove and replace sashes, allowing for easy maintenance, cleaning, and painting. Let’s take a closer look at this innovative system and how it can simplify your window maintenance routine.
Preparation and safety measures
Before diving into the sash removal process, it is crucial to ensure proper preparation and safety measures. The following steps should be followed before commencing any maintenance work on your windows:
- Protect your surroundings: Lay down dust sheets to safeguard your floor and furniture from potential damage or debris during the maintenance process.
- Clear working area: Make sure there is ample space beneath the window where you can work comfortably throughout the maintenance period.
Handy tools for the task at hand
Now that you are ready to begin, gather the necessary equipment for the task at hand. The Ventrolla Sash Removal System requires the following tools:
- Dust sheets: Protect your surroundings from dust, debris, and accidental damage.
- Screwdriver: Used for unclipping or unscrewing detachable staff beads.
- Chisel: May be required to ease out the bottom two parting beads.
- Hammer: Assist with any necessary adjustments or removals.
- Masking tape: Used as a safety barrier in some instances.
Personal Protective Equipment (PPE)
To ensure your personal safety, it is essential to wear the appropriate Personal Protective Equipment (PPE) throughout the maintenance process. The recommended PPE includes:
- Eye protection: Safety glasses or goggles to shield your eyes from any potential hazards.
- Safety gloves: Protect your hands from cuts, splinters, or other injuries.
- Dust mask: Prevent inhaling dust or particles during the maintenance process.
- Safety shoes: Sturdy footwear to protect your feet from any potential accidents.

Protective wear
Step-by-step guide for removing your sashes using the Ventrolla Sash Removal System (SRS)
Now that you are properly equipped and protected, let’s walk through the step-by-step guide for removing your sashes using the Ventrolla Sash Removal System:
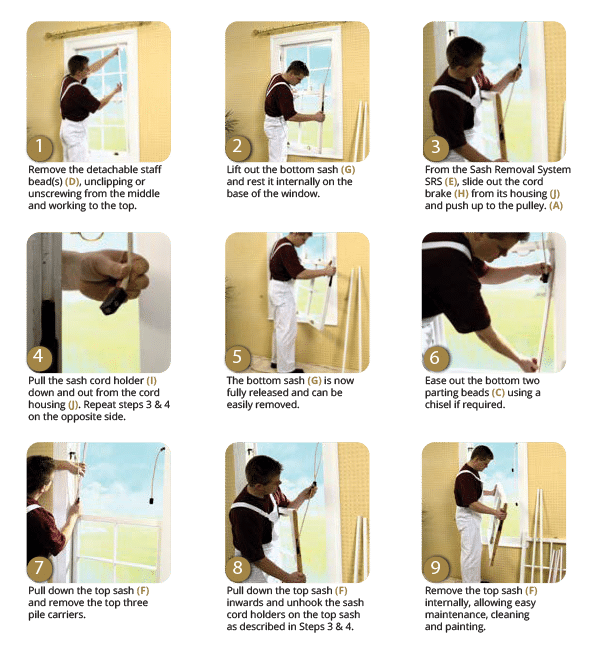
- Remove the detachable staff bead(s): Start from the middle and work your way to the top, unclipping or unscrewing the bead(s). This will allow access to the sashes.
Ventrolla Timber Window and Restoration
- Lift out the bottom sash: Once the staff bead(s) are removed, lift out the bottom sash and rest it internally on the base of the window. This step fully releases the bottom sash, allowing for easy removal.
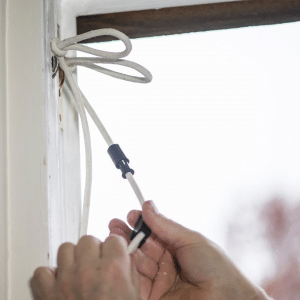
- Slide out the cord brake from its housing: From the Sash Removal System (SRS), locate the cord brake and slide it out from its housing. Push it up towards the pulley. This step ensures the smooth release of the sash.
- Pull down the sash cord holder: Using the SRS, pull down the sash cord holder and remove it from the cord housing. Repeat this step on the opposite side of the window. This action fully releases the bottom sash, facilitating its removal.
Ventrolla Timber Window and Restoration
- Remove the bottom sash: With the cord brake and sash cord holders removed, the bottom sash is now fully released and can be easily removed. Ease out the bottom two parting beads: If necessary, use a chisel to ease out the bottom two parting beads. This step allows for easy removal of the top sash.
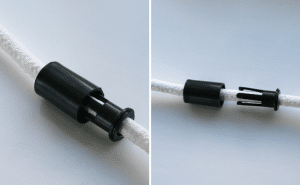
Sash Removal System (SRS)
- Ease out the bottom two parting beads: If necessary, use a chisel to ease out the bottom two parting beads. This step allows for easy removal of the top sash.
- Pull down the top sash and remove the top three pile carriers: After removing the bottom sash, proceed to pull down the top sash. Once it is lowered, carefully remove the top three pile carriers, which will enable the top sash to be released.
- Unhook the sash cord holders on the top sash: Similar to the previous step, use the Sash Removal System to unhook the sash cord holders on the top sash. This is done by sliding out the cord brake and pulling down the sash cord holder from its housing. Repeat this process on both sides of the window.
- Remove the top sash internally: With the sash cord holders unhooked, the top sash is now ready to be removed internally. This allows for convenient maintenance, cleaning, and painting, as necessary.
Routine maintenance tasks, clean the windows, or a fresh coat of paint
By following these step-by-step instructions, you can effortlessly remove and replace your sashes using the Ventrolla Sash Removal System. Whether you need to carry out routine maintenance tasks, clean the windows, or give them a fresh coat of paint, this system simplifies the process and ensures that you can easily access and handle the sashes.
Safe limits for lifting timber sashes
It is important to note that when working with timber sashes, there are safe lifting limits to consider. For weights exceeding 25kg, it is advisable to seek assistance from another person. In the case of double-glazed sashes, two people are required for lifting regardless of weight. This precaution ensures the safety of everyone involved and prevents any potential injuries or damage.

Take control of your windows upkeep
The Ventrolla Sash Removal System provides homeowners with a practical solution for window maintenance. By incorporating user-friendly design and clear instructions, it empowers individuals to take control of their window upkeep. With the ability to easily remove and replace sashes, homeowners can ensure their windows remain in optimal condition while enhancing the overall appearance of their homes.
Remember to follow the recommended safety precautions throughout the process. Wear the appropriate Personal Protective Equipment (PPE), such as safety glasses, gloves, a dust mask, and safety shoes. Additionally, protect your surroundings by using dust sheets and creating a clear working area beneath the window.
Maintaining and caring for your windows has never been easier
With the Ventrolla Sash Removal System, maintaining and caring for your windows has never been easier. Enjoy the benefits of a well-maintained and aesthetically pleasing window system and keep your home looking its best for years to come.
Painting Instructions for a Flawless Finish:
1. Remove the Weatherfin Pile:
In addition to the staff beads (D) and parting beads (C), your sashes may have the Weatherfin Pile installed directly into them. Refer to diagram 3 on the above step guide. The Weatherfin Pile is present in the following areas:
- Underneath the bottom rail of the bottom sash (N).
- Rear of the mid rail (or top rail) of the bottom sash (L).
- Top rail of the top sash (meeting the frame) or in the parting bead (K) spanning the width of the window at the top of the box frame.
- Staff bead spanning the width of the window along the bottom (M).
The Weatherfin Pile is situated within u-sections in your sashes and can be easily slid out. However, it may be pinned in place on some occasions. In such cases, protect the Weatherfin Pile from paint by placing masking tape over it.
2. Remove the old paint:
If you intend to repaint the entire window after renovation, you may need to remove the old paint from the sashes and frame. It is important to assume that the old paint contains significant lead content and wear a suitable protective dust mask. Take care not to expose the components of Ventrolla’s Perimeter Sealing System to excessive heat.
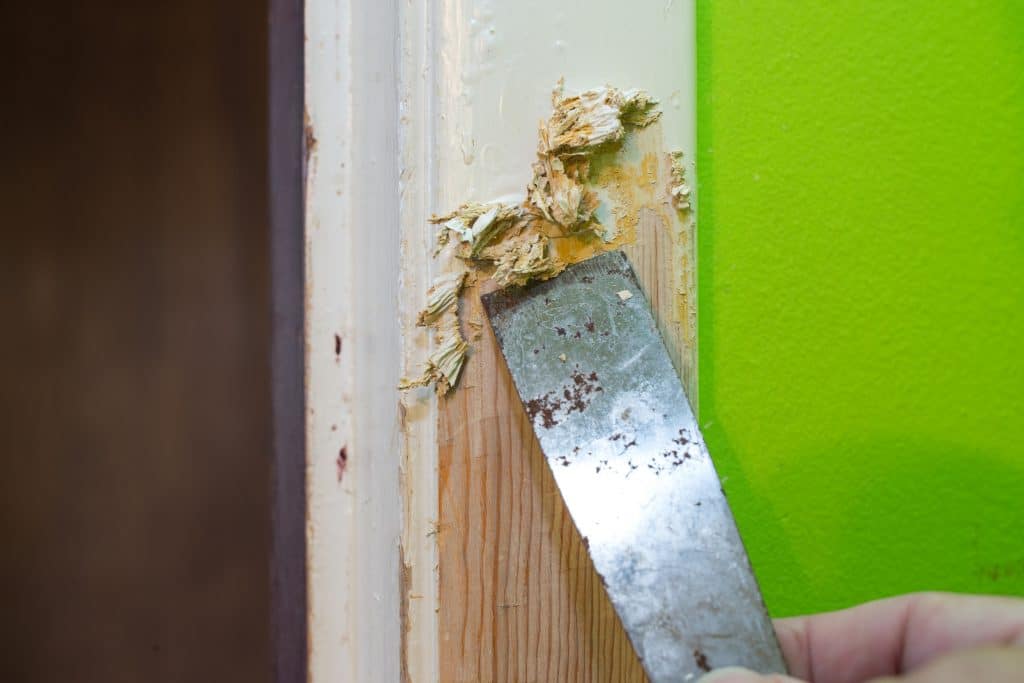
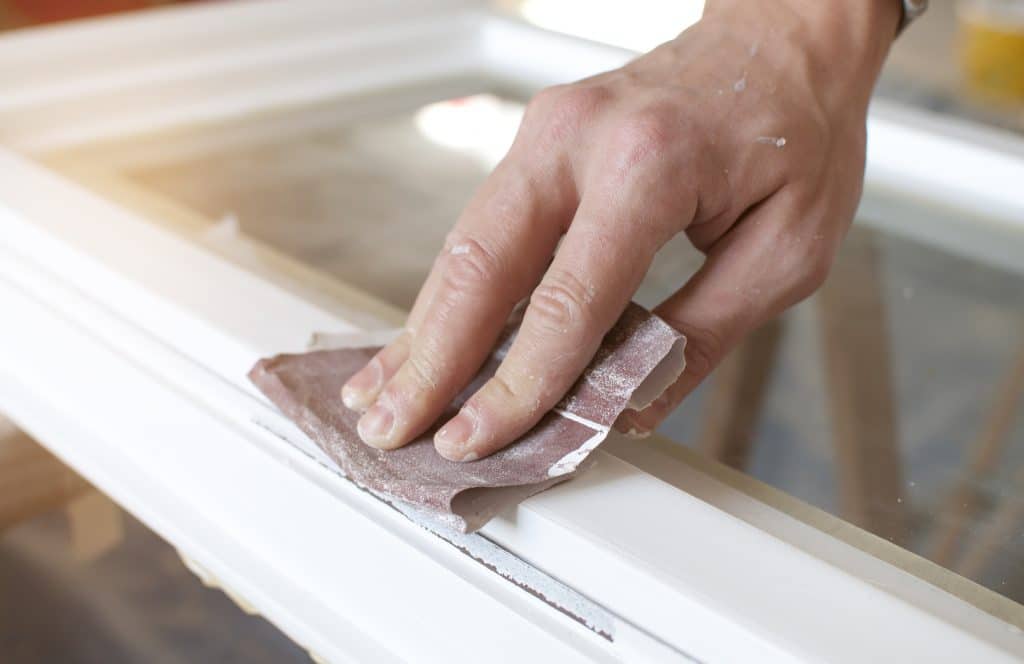
3. Sand the timber
Brush away any dust after sanding the window frame and wipe the frame down with a moist sponge – no soap, just water – to ensure a clean line when painting.
TIP – Use a medium-grade sandpaper for sanding your timber windows.
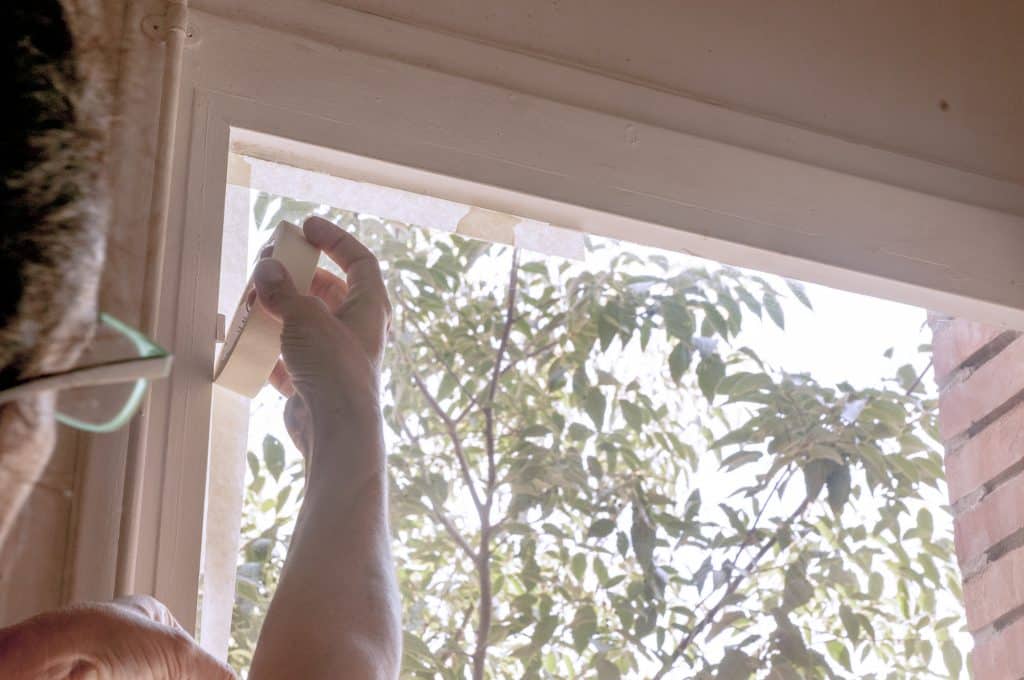
4. Mask the glazing:
To protect the sash window glass from paint, consider using masking tape and/or cloth to cover the glass pane during the painting process.
5. Paint your windows:
When painting your sash windows, follow these steps for a high-quality finish and optimal timber protection:
- Apply a good quality primer to ensure proper adhesion of the paint.
- Once the primer has dried, apply a topcoat that matches your desired colour scheme.
- Finish with a gloss coat to provide added protection and a polished appearance.
- Be cautious not to intrude on the glass with the paint, except for the final coat, which should overlap onto the glass by about 1mm to protect the seal.
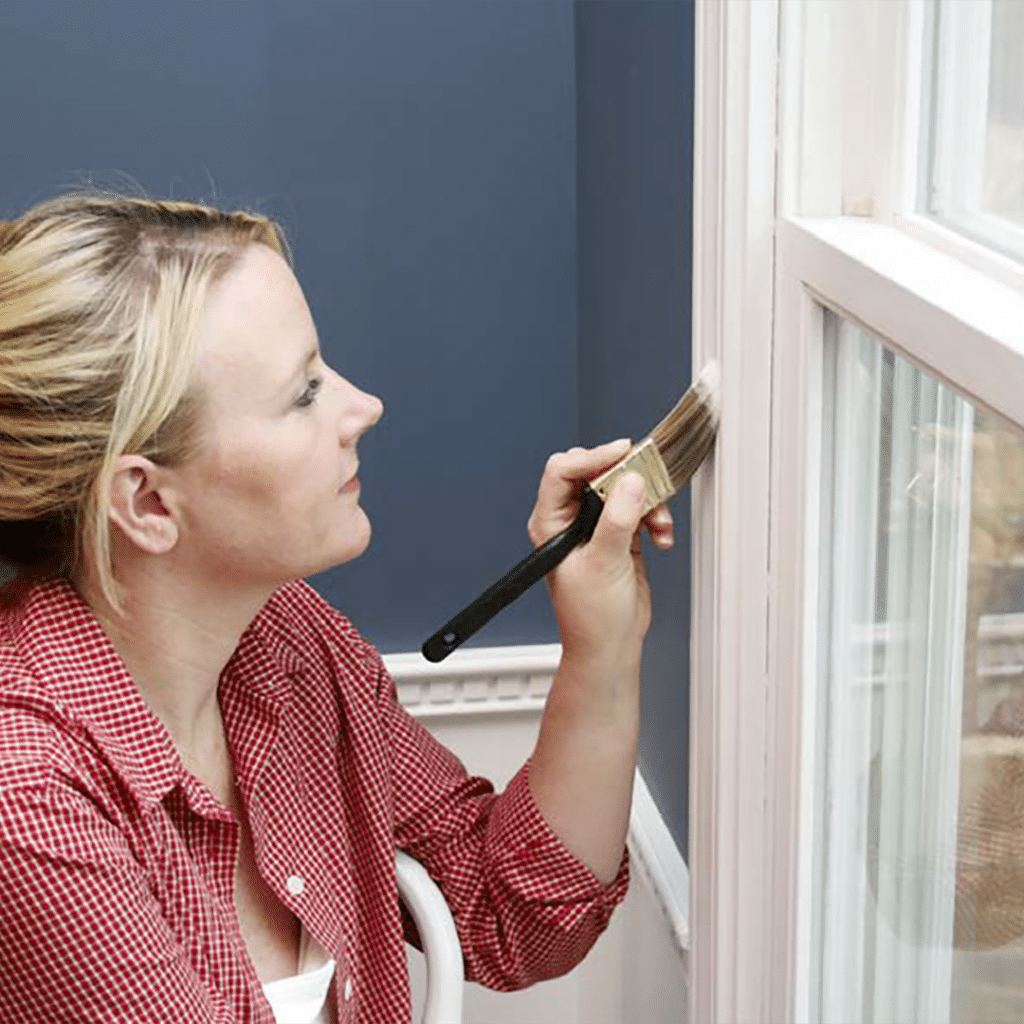
- Consider using a “sash trim brush” for easier painting, as it is slightly angled to reach into 90-degree corners and tight spaces.
Note: Ventrolla cannot be held responsible for any paint damage to the Weatherfin Pile, so take care when painting around this component.
By following these painting instructions, you can enhance the visual appeal of your windows while ensuring the longevity and protection of the timber. Enjoy the fresh and revitalized look of your sash windows, complementing the overall aesthetics of your home.
Remember to exercise caution and use appropriate safety measures throughout the painting process, including wearing protective gear and following standard painting safety practices.
Care Instructions for Long-lasting Performance:
- Weatherfin Pile: The Weatherfin Pile, also known as the weather-strip or draught-proofing strip, generally requires minimal cleaning. However, if cleaning becomes necessary, we recommend using a stiff brush to remove any dirt or debris and washing it with a mild detergent. Avoid using solvent-based products, as they may cause damage.
- Hinges & Window Catches: Regularly wipe over the hinges and window catches, cleaning them with a gentle solution and lightly oiling or spraying them with a lubricant such as WD40. This helps to maintain their smooth operation.
- Weatherfin Pile Carriers: The pile carriers house the Weatherfin Pile within and around your sashes. To clean them, mix a mild detergent with water and apply it with a non-abrasive cloth or pad to remove dust and light stains. Take care not to saturate the Weatherfin Pile. In case of stubborn stains, use a soap or water-based cleaner. Avoid using acids, abrasive pads, solvent-based chemicals, methanol-based products, paint, or stains, as these may cause damage.
Please note that over time, the colour of the Ventrolla system fitted may fade slightly, resulting in a different shade. If needed, Ventrolla offers a full after-care service and repiling to address any issues.
Remember to exercise caution
Remember to exercise caution when removing the Weatherfin Pile and when sanding old paint from the sashes and frame. It is essential to wear a suitable protective dust mask, as the old paint may contain significant lead content. Avoid exposing components of Ventrolla’s Perimeter Sealing System to excessive heat during the renovation process.
If you plan to repaint your sash windows, take care to mask the glazing using masking tape and/or cloth to protect the glass pane from paint. Apply a good quality primer, topcoat, and gloss to ensure a durable finish and protect the timber. Use a “sash trim brush” for easier painting, as it is specifically designed to reach into 90-degree corners and tight spaces. However, be cautious not to intrude on the glass with the paint, except for the final coat that should overlap onto the glass by about 1mm to protect the seal. Ventrolla cannot be held responsible for any paint damage to the Weatherfin Pile.
What to avoid?
To maintain the optimal condition of your Ventrolla Sash Removal System, avoid using abrasive cleaners, wire wool, paint removers, sandpaper, bleach, or any harsh chemicals that may cause damage.
By following these care instructions, you can ensure the longevity and performance of your Ventrolla Sash Removal System, keeping your windows in excellent condition for years to come.
Contact us today for further information
At Ventrolla, we have many patented products and services that we’ve created to help ease the stress of painting your timber sash windows. Contact our helpful team online here or by calling 0800 378 278 and ask about our Sash Removal System (SRS) and Ventrolla Perimeter Sealing System (VPSS).

